.png)
Instructions for the Asian youth diabetes study
Thank you for taking part in our study. This page will guide you through everything you need to do across the study period.
On this page
Study timeline at a glance
Below is a simple guide to what you'll need to do on key days during the study. Don’t worry—you’ll also get reminder emails with the FormSG links.

Day 2
Scan the QR code or click to submit. Submit a new entry for each intake. See below for photo-taking instructions.
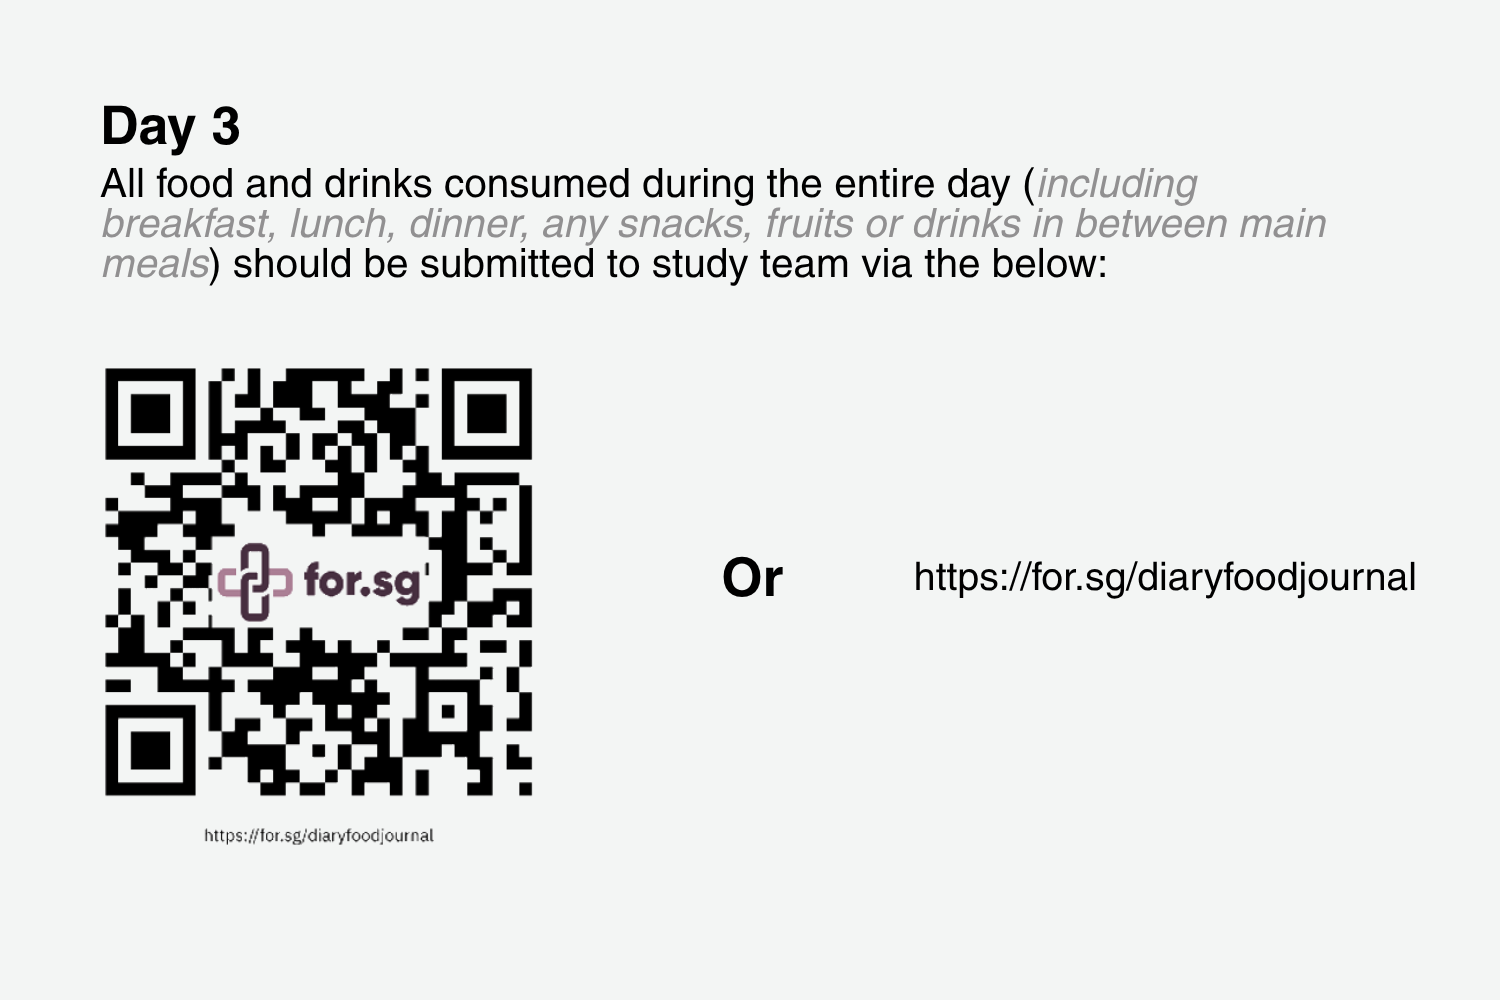
Day 3
Scan the QR code or click to submit. Submit a new entry for each intake. See below for photo-taking instructions.

Day 14
Remove your sensor today. Scan the QR code or click to submit. Please complete one form per sensor worn. See below for more information on sensor.
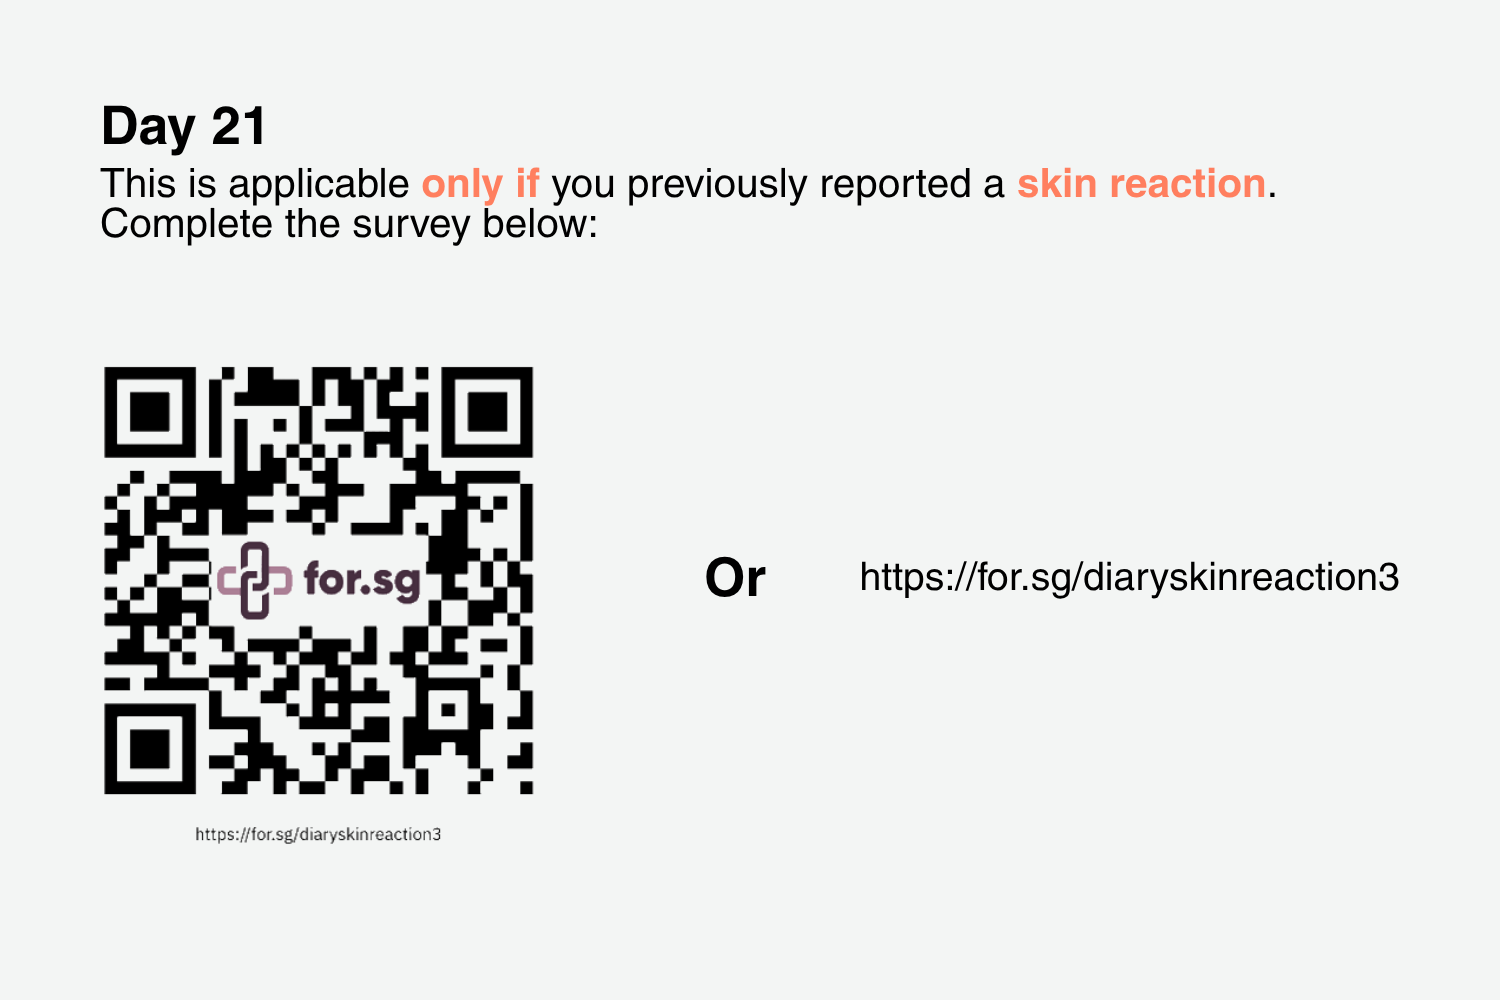
Day 21
Scan the QR code or click to submit only if you have previously reported a skin reaction.
Food photo guidelines
Here are the guidelines to take good food photos:

Good lighting
Ensure good lighting before taking photo.
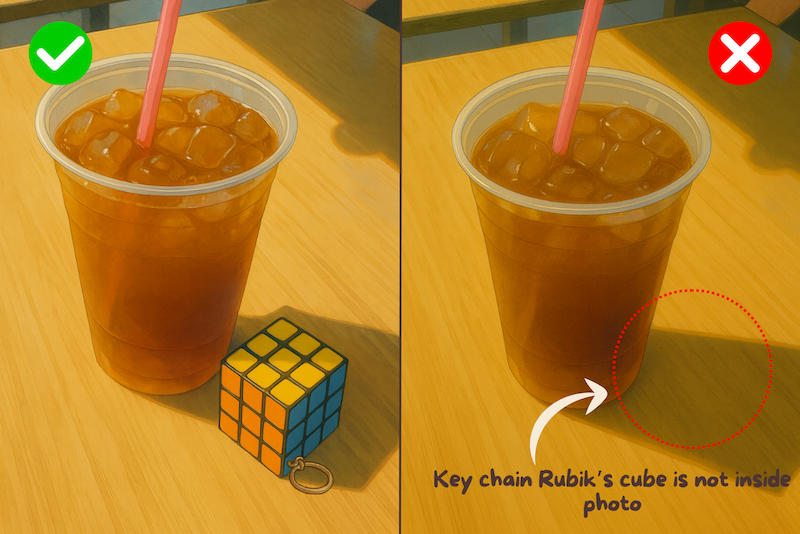
Include keychain Rubik's cube
The keychain Rubik's cube is in frame, beside your dish and 2/3 faces of the cube can be seen.
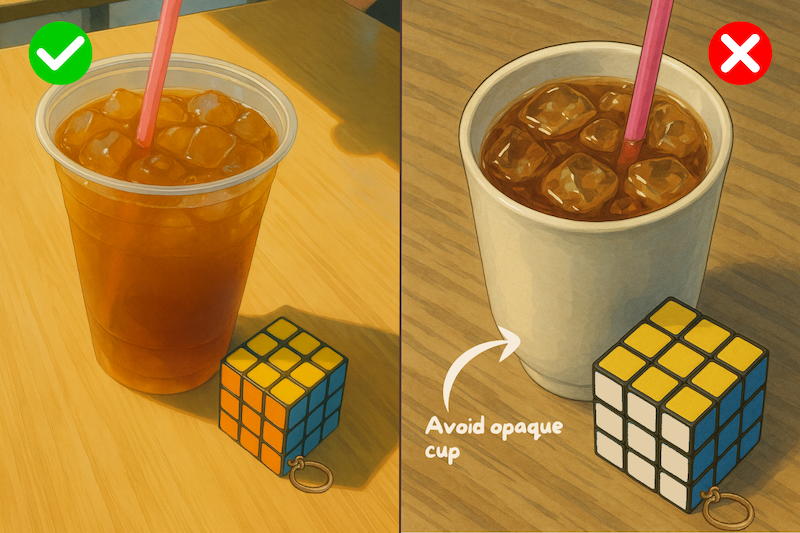
Avoid opaque cup
The drink should preferably be in a see-through cup.
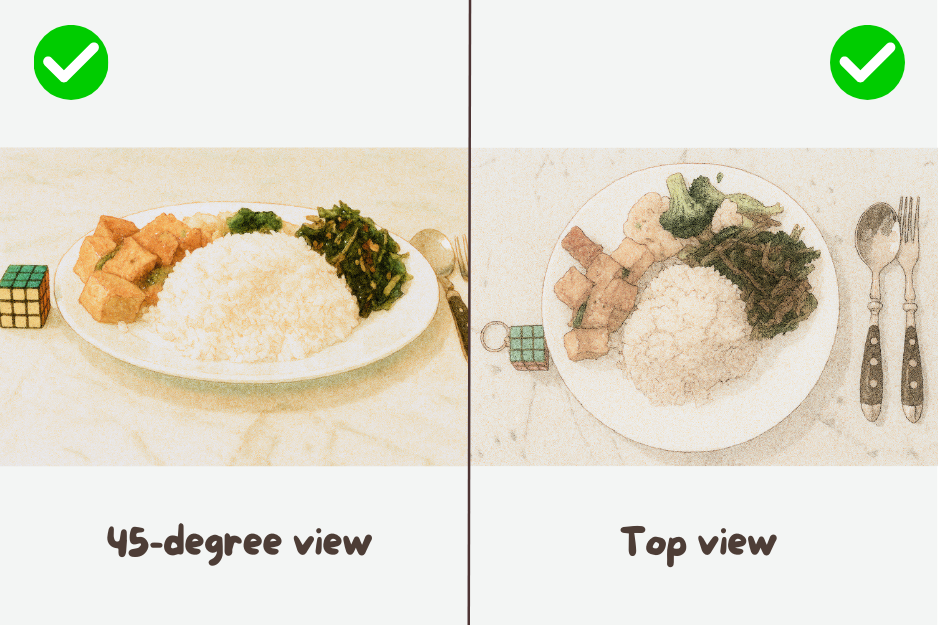
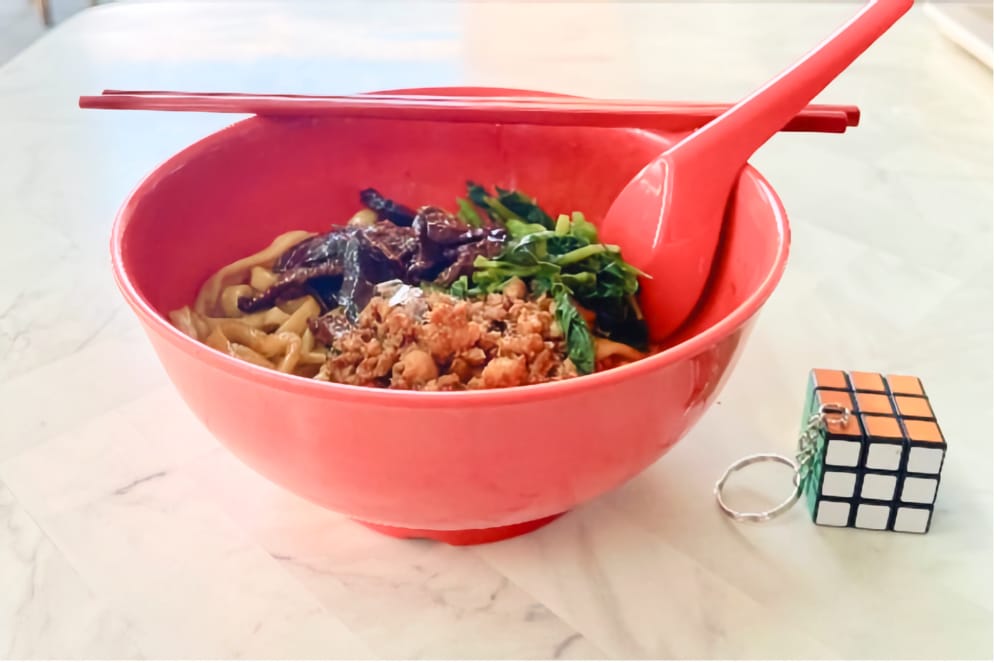
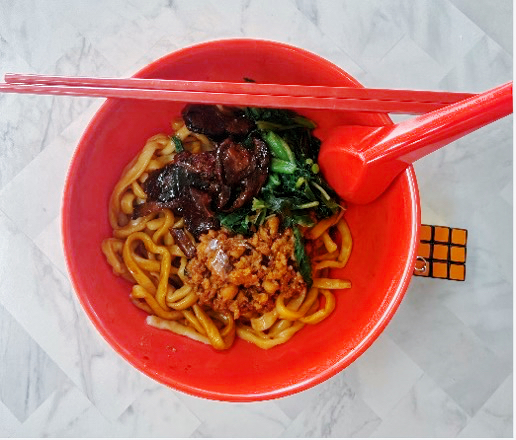
Photos taken from two angles
The photo shall be taken from two angles: 45 degrees and top view.
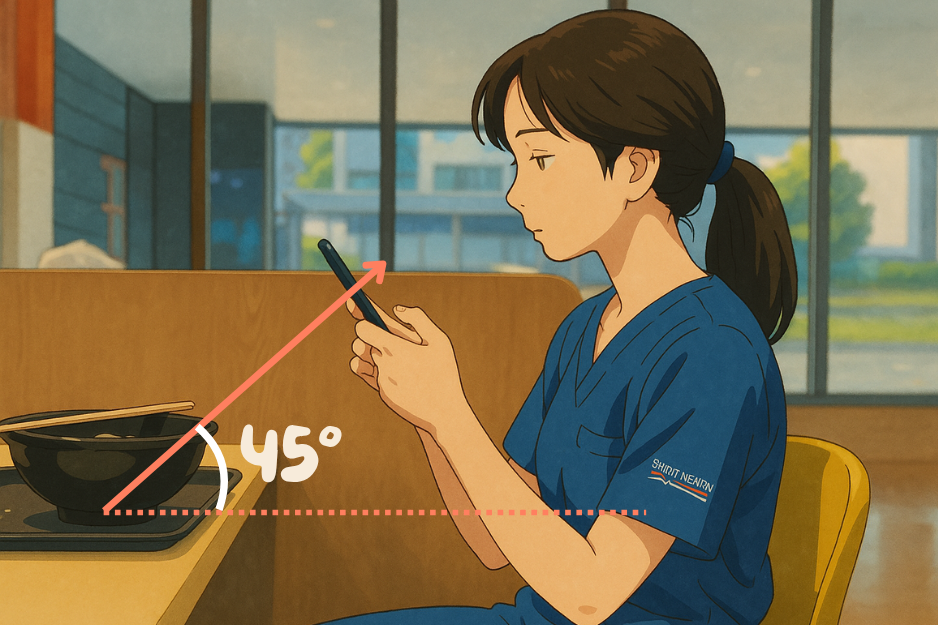
The right way to take a photo of 45-degree view

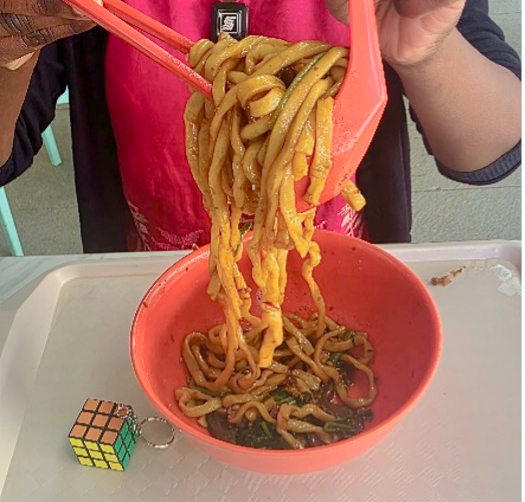
Lifting noodles in soup-based dishes
For soupy items (e.g. noodle soup), besides taking 45-degree and top view, please take a photo with the content lifting up.
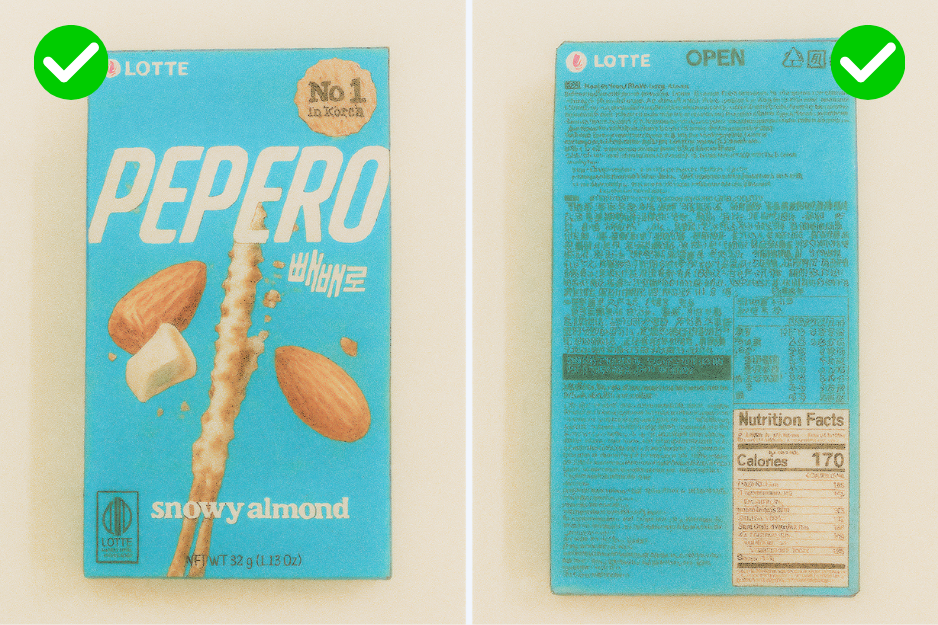
Provide nutrition information panel for snacks
If consuming snacks with labels, provide NIP (Nutrition Information Panel), where available
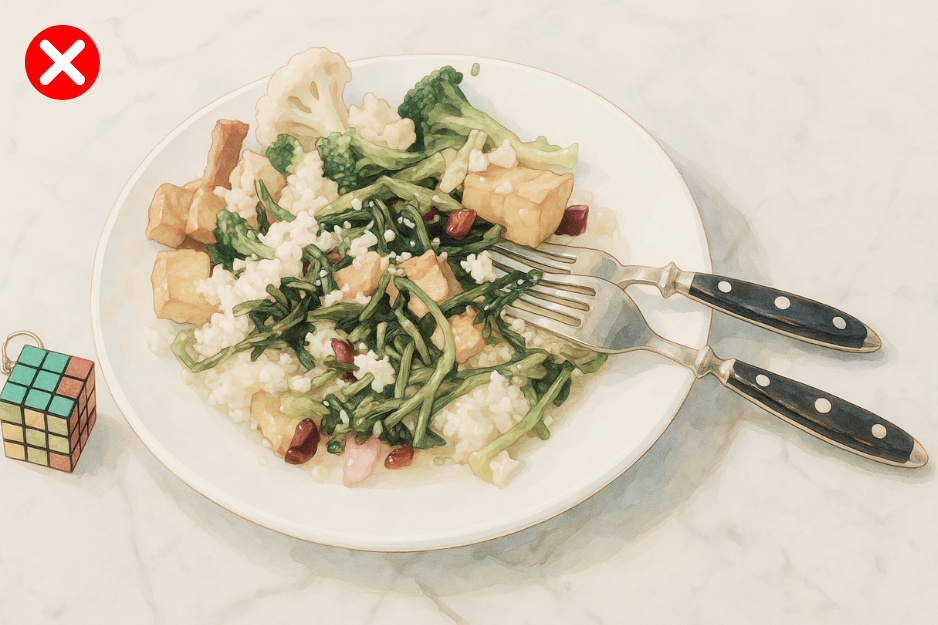
DON'T DO:
Not to mix food items on plate before photo is taken
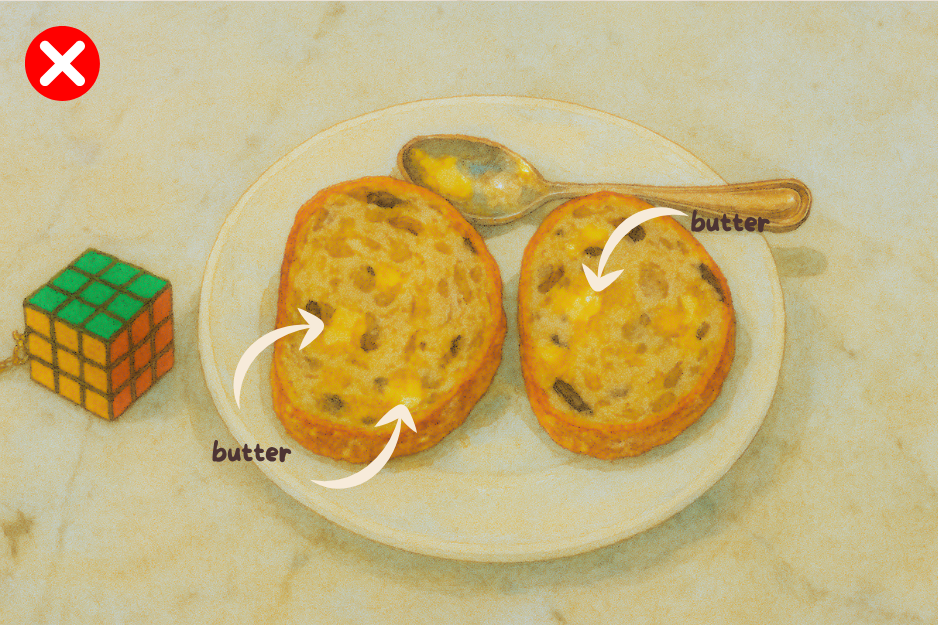
DONT' DO:
Not to spread butter on bread before photo is taken
Examples
Take a look at these photos for references on getting yours just right.
Continuous glucose monitoring sensor information
1.
The sensor is waterproof for regular showering.
2.
Do not use sensors in Baths/ Jacuzzi/ Sauna.
3.
Swimming is allowed but not below 1m depth and not longer than 30 minutes.
4.
Do not undergo CT or MRI scans while wearing the sensor. If urgent medical imaging is needed, remove the sensor and inform us.
5.
Handle the sensor with care, especially when changing clothes.
6.
If the sensor falls off, please keep it aside safely. Do not attempt to reattach it yourself. Inform us at XXXX XXXX during office hours.
7.
Remove the sensor 2 weeks later. Do not throw away the sensor. Put in the Ziploc bag and return to SGH using the provided smartpac.
8.
Once you have removed the sensor, complete the Skin Reaction Report Form